Online Banking Tutorial
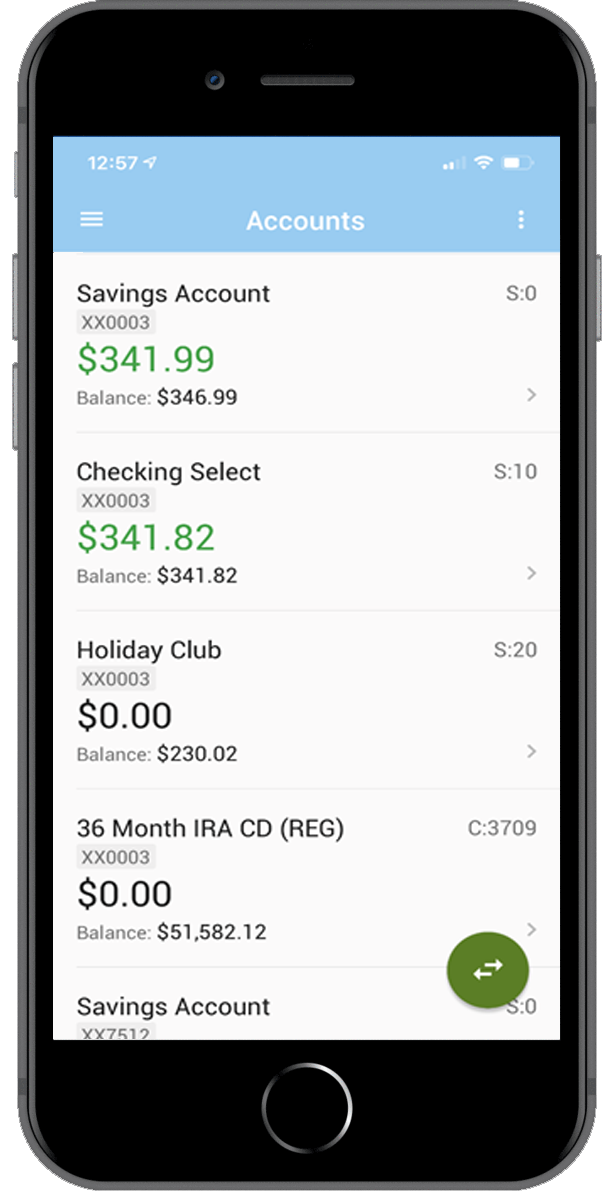
This is the first screen that comes up when you log into Online Banking. It will list all accounts that the user is associated with

This is the “Make a Transfer” screen. Members can transfer money to all their Wave FCU accounts. They will select where the money is coming from and where it is going to. They can choose to do the transfer once or recurring.

This is the Bill Pay screen. If the member has multiple accounts, they will choose which account they want to use for Bill Pay before they click Continue.

This is an example of a Bill Pay Payee that has already been setup by a member.

This is the E-Statement screen. If the member has multiple accounts, they will choose which account they want see their E-Statement on.

The first time a member logs into E-Statements, they will have to read and accept the Disclosure & Agreement.

This is the top of the Disclosure that the member must read and accept.

The member will click on the red box to access their E-Statement.

This is the Check Ordering screen. If the member has multiple checking accounts, they will choose what account they want to order checks for.

This is the main Check ordering screen. The member will need to scroll down to see their check order information.

This screen shows the last style check the member ordered and the next starting check number. The member can just click on “Checkout” if they don’t want to change anything.

This screen is where the member can send Wave FCU a secure message.

This is the Settings screen where the member can see their User information.

This is the Additional Services screen where the members can see additional settings.

This is the Event Logs screen where the member can see the dates, times and what they accessed via online banking.